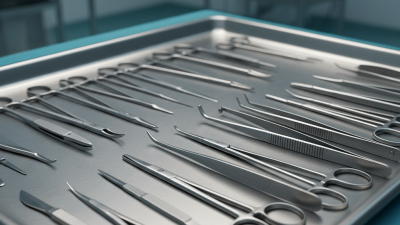
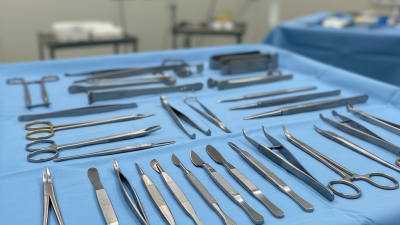
25 Best Surgical Instruments Names and Their Uses?
Surgical instruments names can sound like a specialist’s language, but each one points to a practical task: cutting, grasping, clamping, or closing tissue. This guide introduces 25 commonly used instruments and explains their typical roles in the operating room. A scalpel makes a controlled incision. A needle holder steadies a suture needle. Small differences matter.
Instrument knowledge supports safe teamwork, but tools alone do not ensure safe surgery. In a landmark, eight-hospital study published in the New England Journal of Medicine, implementation of the WHO Surgical Safety Checklist was associated with fewer complications, falling from 11.0% to 7.0%, and lower mortality, from 1.5% to 0.8% (Haynes et al., 2009). The WHO’s 2024 Global Patient Safety Report also highlights the wider burden of harm in healthcare. These findings concern safety systems, not any single instrument.
Here, descriptions focus on recognizable features and common uses: Mayo scissors for heavier tissue, Metzenbaum scissors for delicate dissection, and forceps for holding or handling tissue. Not every instrument has one fixed purpose. Names, designs, and preferred techniques can vary by specialty and facility. That can be confusing. The explanations are educational, not a substitute for supervised training, local protocols, or a surgeon’s judgment. Even familiar tools deserve careful handling; a name is only the starting point.
Define surgical instruments by purpose, design, and operating-room role
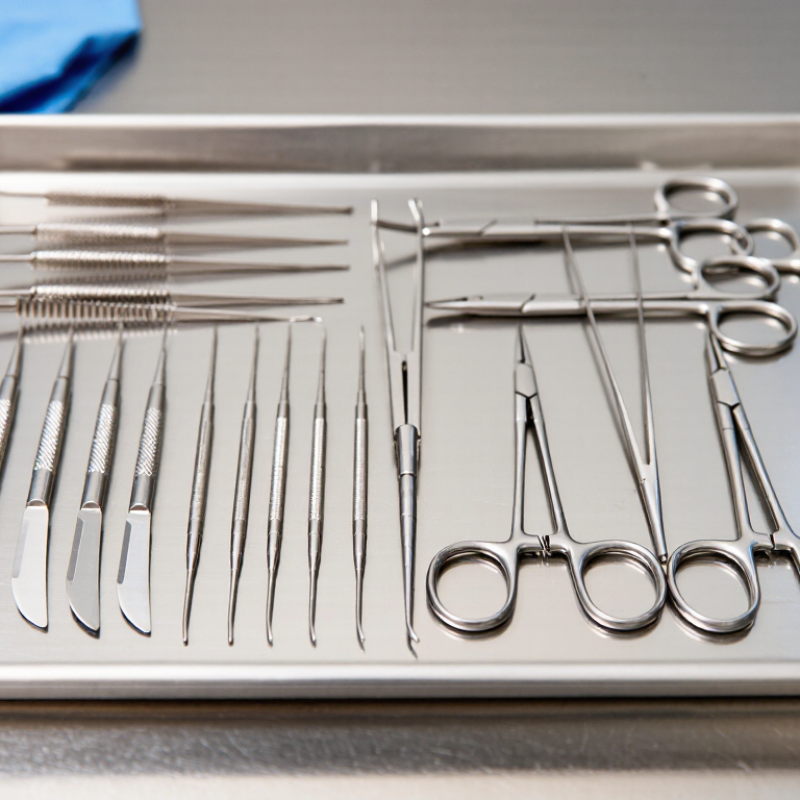
Surgical instruments are tools designed to help a clinical team perform specific tasks during an operation. Their purpose, physical design, and place in the operating-room workflow all help explain what they do. A scalpel has a small, sharp blade for making an incision; scissors have paired blades for cutting tissue or material. The purpose is control. Shape matters, too: a curved instrument can reach around tissue differently from a straight one.
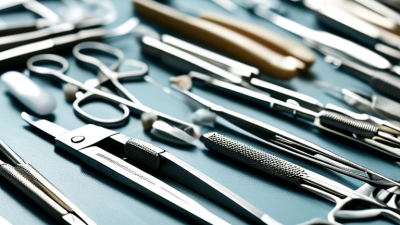
Some instruments grasp or hold. Forceps use two arms to pick up or steady tissue, while a needle holder has short, firm jaws for guiding a suturing needle. A hemostat uses a locking handle to clamp a vessel or other small structure. Retractors hold an incision open so the team can see the working area. Suction instruments clear fluid from the field. These tools are not interchangeable, even when they look similar in a tray.
Operating-room roles also define instruments. A scrub professional organizes and passes tools, while the surgeon selects them for the task and the assistant may provide exposure or suction. The same instrument can serve different purposes depending on the procedure and tissue involved. This distinction is useful, though not perfect: names and classifications may vary across hospitals and specialties. Identifying an instrument by its shape alone can be misleading; its intended use and the team’s protocol matter.
Group 25 instruments into five functions: cutting, grasping, clamping, retracting, and closing
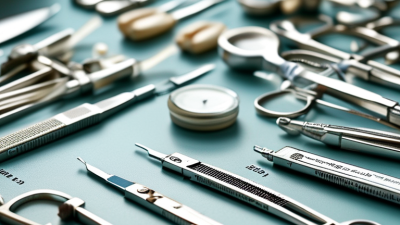
Surgical instruments make more sense when grouped by function, not appearance. Names and uses can vary by specialty, and some tools serve more than one role. The five groups below offer a practical starting point.
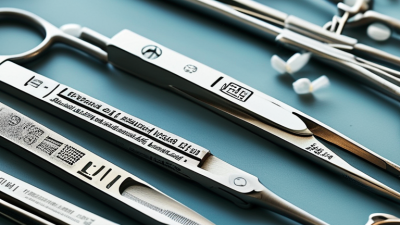
Cutting tools include the scalpel, Mayo scissors, Metzenbaum scissors, tenotomy scissors, and bone rongeur. They cut skin, sutures, delicate tissue, or bone. Grasping tools include Adson forceps, DeBakey forceps, Babcock forceps, Allis forceps, and toothed tissue forceps. Their tips hold tissue, though the grip must match its fragility. Clamping tools include mosquito hemostats, Kelly clamps, Crile clamps, Kocher clamps, and right-angle clamps. They compress vessels or tissue; jaw shape and teeth matter.
Retractors include Senn, Army-Navy, Richardson, Deaver, and Weitlaner retractors. They hold an incision open, from a shallow edge to a deeper field. Closing tools include Mayo-Hegar, Olsen-Hegar, and Castroviejo needle holders, plus a skin stapler and ligating clip applier. The first three control needles; the last two secure skin or vessels. Small details count. A WHO-led study across eight hospitals found complications fell from 11% to 7% after introducing a surgical safety checklist (Haynes et al., New England Journal of Medicine, 2009). The checklist did not test instruments, but it underscores the value of clear team communication. I still find category boundaries imperfect: selection depends on tissue, procedure, and surgeon preference.
Identify the names and uses of key cutting and dissecting instruments
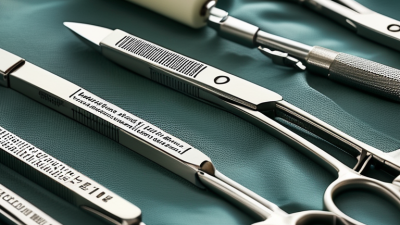
Scalpel blades create controlled skin incisions and precise cuts; the handle supports grip and blade control. Mayo scissors are generally suited to denser tissue, while Metzenbaum scissors are designed for delicate tissue dissection. Tenotomy scissors, with their narrow blades, can work in confined areas. Sharp tips cut; blunt tips can help separate tissue planes, but technique and anatomy matter. The distinction is not always tidy.
Tips: Keep cutting edges visible, and use only the instrument type specified by the surgical team. Check alignment and sharpness before use; a damaged edge may tear rather than cut cleanly.
Instrument choice is only one part of safe surgery. The World Health Organization’s 2016 Global Guidelines for the Prevention of Surgical Site Infection cite pooled estimates of about 11.8 infections per 100 surgical procedures in low- and middle-income settings. This figure describes a varied body of evidence, not the effect of any single instrument. Sterile processing, handling, and clinical judgment matter too. A familiar name is not a substitute for training or the procedure’s protocol.
Compare graspers, clamps, retractors, and suturing tools by function
Graspers hold tissue or guide small structures during an operation. Fine, toothed forceps can secure tougher tissue, while atraumatic graspers reduce crushing of delicate surfaces. The choice depends on the tissue and the task. A firm grip is not always a better grip. Surgeons handle these instruments with controlled pressure, since even a small slip can damage tissue.
Clamps apply pressure to vessels or other structures. Hemostatic clamps are designed to limit blood flow, while other clamps may hold tissue or tubing. They are not all interchangeable. Retractors serve a different purpose: they hold an incision or tissue edge aside so the surgical area stays visible. Handheld retractors need someone to maintain their position; self-retaining designs stay open without continuous manual support. That difference can matter in a crowded operating field.
Suturing tools help close tissue with controlled placement. A needle holder grips the curved needle, and surgical scissors trim the thread. Tissue forceps may steady the wound edge during placement. A needle holder can look like a clamp, but its jaws are shaped for a different job. Instrument names and designs vary across procedures, so simple categories can blur. That is worth remembering. Proper selection and handling require clinical training and depend on the surgeon’s technique.
25 Common Surgical Instruments and Their Uses
This chart compares a representative set of 25 instruments by primary function. Counts show how many examples are listed in each group; they are not rankings of importance or clinical effectiveness.
- Graspers — 6
Adson tissue forceps hold delicate tissue; DeBakey forceps handle vessels and other delicate tissue; Babcock forceps hold soft tubular structures; Allis forceps grasp tougher tissue; Foerster forceps hold sponges or tissue; atraumatic bowel graspers handle bowel during minimally invasive procedures.
- Clamps — 6
Mosquito, Kelly, and Crile hemostats clamp small to medium vessels or tissue to control bleeding; Kocher clamps provide a firm hold on tissue; Satinsky clamps partially occlude large vessels; bulldog clamps temporarily occlude smaller vessels.
- Retractors — 5
Army-Navy and Richardson retractors hold superficial wound edges apart; Deaver retractors provide deeper abdominal exposure; Balfour retractors maintain abdominal incision exposure; Weitlaner retractors hold a wound open with a self-retaining mechanism.
- Suturing tools — 4
Mayo-Hegar, Olsen-Hegar, Castroviejo, and Webster needle holders secure and guide suture needles. Their size and design suit different needle and tissue requirements.
- Cutting and dissecting tools — 4
A scalpel handle holds a disposable blade for incisions; Mayo scissors cut heavier tissue or sutures; Metzenbaum scissors are designed for finer tissue dissection; tenotomy scissors are used for delicate, precise cutting.
Instrument choice depends on the procedure, tissue, and clinician’s training. Always follow local protocols for handling, sterilization, and use.
Connect instrument reprocessing to CDC’s 3 Spaulding categories and WHO’s 19-item checklist
Reprocessing starts with intended use, not an instrument’s name. CDC’s Spaulding categories help teams choose the required level of processing. Critical instruments, such as forceps entering sterile tissue, require sterilization before reuse. Semi-critical devices, such as laryngoscope blades contacting mucous membranes, require at least high-level disinfection. Noncritical items, such as blood-pressure cuffs touching intact skin, need suitable cleaning and disinfection. Follow device instructions and facility procedures; the same instrument type may have different uses.
WHO’s 19-item Surgical Safety Checklist supports communication at three points: before anesthesia, before incision, and before the patient leaves the operating room. It includes checks related to sterility indicators, instrument counts, specimens, and equipment concerns. It is not a reprocessing protocol, and completing it does not prove that cleaning or sterilization was adequate. That distinction matters. Teams should connect checklist handoffs with documented reprocessing records and promptly raise uncertainty.
Tips: Label processed sets clearly, inspect hinges and serrations under good light, and verify indicators according to the validated process. If a count or sterility result is unclear, pause and resolve it. Busy rooms can miss small details; that risk deserves honest review.